Unless you are an experienced car enthusiast or an amateur car mechanic, you are not expected to actually know all the bits and pieces that make up your car’s underbody. For one thing, not all car owners are intent to get acquainted with these greasy, grimy components. For another, under car cleaning is not a job for the fainthearted. It requires a certain level of skill, experience, and willingness to get dirty. Giving your road warrior proper car care means knowing when you can perform adequate DIY cleaning jobs, and when you need to call professional detailers.
Car underbody cleaning is one of those chores that are best performed by the experts,
but if you feel confident about tinkering with your chassis every now and then, here are some helpful tips to get you going:
-
Gather all the tools you will need.
Working with your car’s under-body is not the same as simply splashing water on the exterior. You will have to work with the nether parts of your car to dislodge grimy, rusty debris and to apply degreaser where needed. That said, you should all have the tools you will use for the job within arm’s reach. Some of the things you need to do a thorough car chassis cleaning are brushes (of varying stiffness), tweezers, heavy-duty wash mittens, hose with spray nozzle, degreaser, car wash solution, 3-in-1 oil, and a small Phillips screwdriver, among others. If you prefer, you can wear latex gloves to keep your hands clean as you work.
-
Set the car’s emergency brake.
Loosen the lug nuts on your rear wheels, but don’t remove them completely yet. Use a floor jack to raise the rear end of your vehicle to a comfortable working level and prop them up with jack stands. You can now take out the car’s rear wheels for better access to the wheel arches.
-
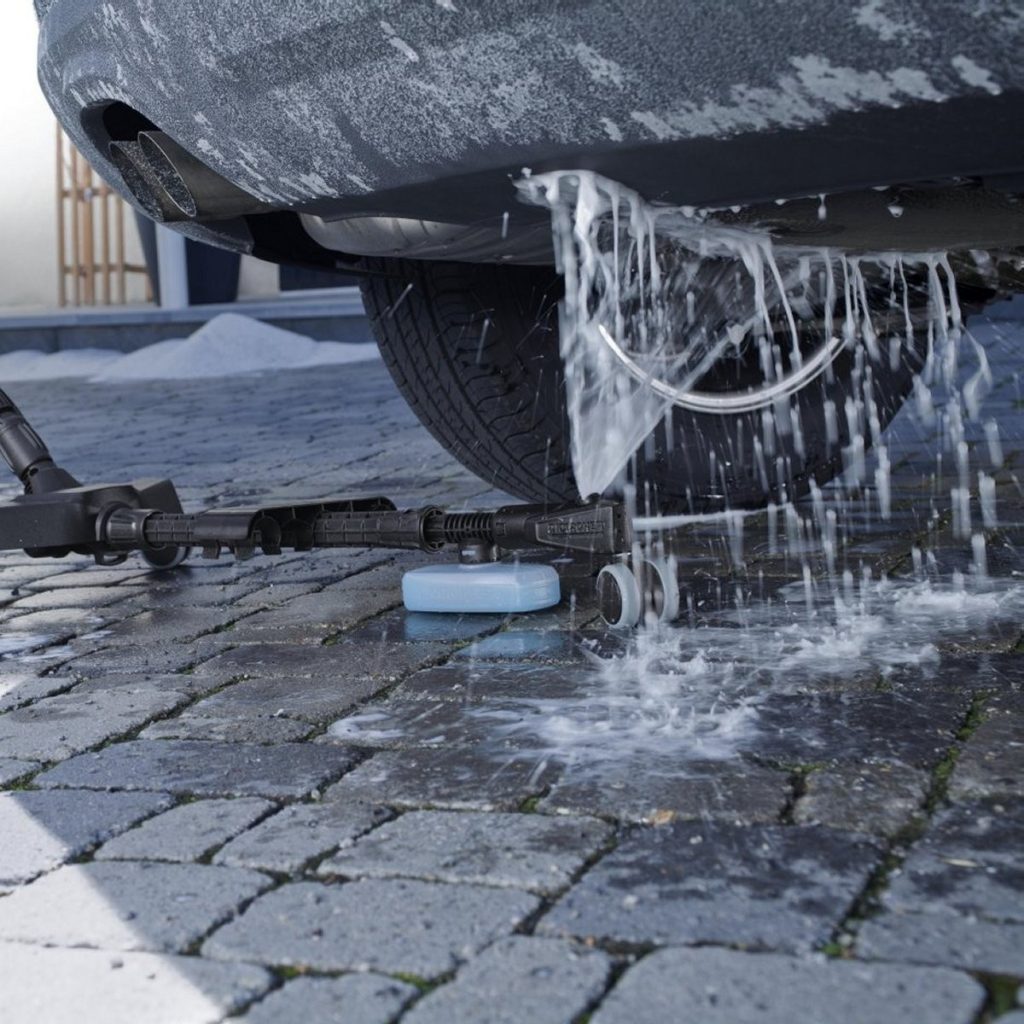
Spray the car’s underbody with water to loosen the debris clinging to the surfaces.
Apply the cleaning solution to the entire area and leave it to soak for up to 15 minutes. When that’s done, you can scrub away the caked-on dirt with a stiff brush or a wash mitt. You can also use tweezers for the more stubborn debris. Apply degreaser for those portions of the underbody that still have grease and grime on them.
-
Spray the car with water once more to get the dirt to break up more easily and wash off of the chassis.
Dry the chassis with a clean microfiber cloth. Focus on the painted surfaces—you don’t want moisture sitting on the paint and penetrating it to promote rusting underneath.
-
Squeeze a drop of 3-in-1 oil to each of the motor shaft bearings and the axles.
Be sure to wipe off any excess oil as it will attract dirt and dust even after you’ve cleaned the chassis. Replace your car’s back wheels, secure the lug nuts, and jack up the car to remove the jack stands. Once the car is flat on the ground again, tighten the lug nuts on your rear wheels completely.
-
Repeat the same process for the front area of your car.
Now, tell us in the comments how your first DIY car underbody chassis cleaning went or even better – post some pics on our on our Facebook page 😉