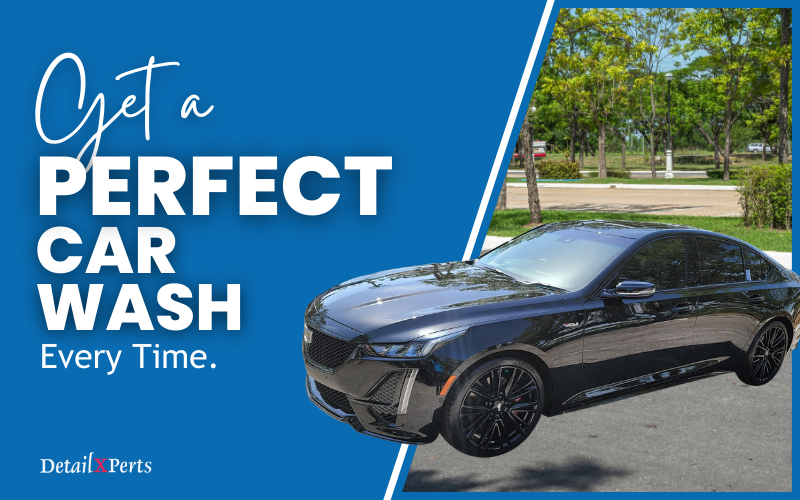
Waxing your car is an important step to keep your car’s exterior well protected and in great condition. But, it’s not as easy as it seems. You must have the right tools and know the proper steps to get it done. How do you go about it? Below are five easy steps on how to wax a car.
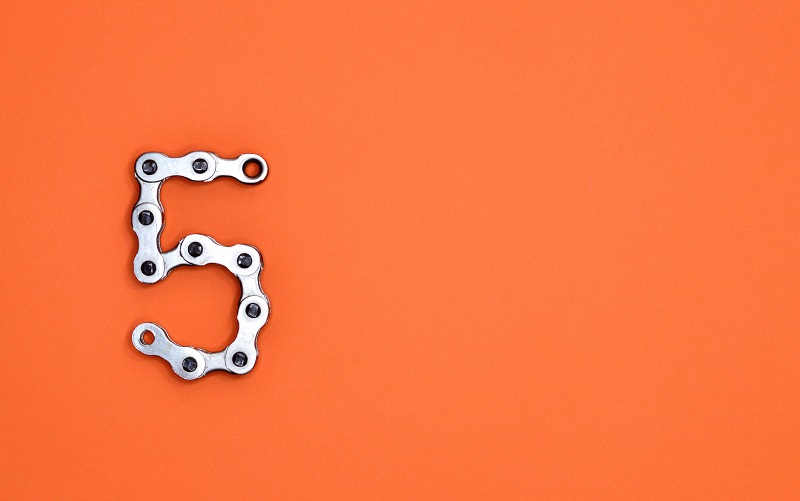
How to Wax a Car: 5 Easy Steps
Here are a few things to keep in mind before you wax your vehicle:
- Your automobile should be completely clean and dry. Otherwise, the wax can leave ugly streaks which can be difficult to remove later on.
- The temperature outside should be between 55 and 85 degrees. Too hot and the wax will dry too quickly; too cold and the wax will be hard to buff for a nice shine.
- Stay out of direct sunlight. Direct sunlight will heat up the wax and dry even before you get a chance to buff it out. Wax in a garage or in a shady spot.
Then, you are ready to get started.
Step 1: Get your equipment ready. The things you will need to wax a car are liquid or crème/paste wax and a microfiber cloth. You can also buff your car after you wax it using an automated buffing pad. It is best to get a higher quality of carnauba wax if you want your shine to last (spray-on waxes do not last as long as their carnauba counterparts).
Step 2: Get the applicator (provided with your wax) or a damp sponge and start working on small two foot sections of your car. Rub a half dollar sized amount of wax using small circular motions, overlapping slightly as you move across a section. Remember: Less is more when working with wax, no matter which type you use. A thinner coat of wax will bond better with your car than a heavier application.
Step 3: At this point you may wish to buff your car, but it’s completely optional. Add more wax as needed in spots to get out any imperfections in the finish and use a bit of elbow grease.
Step 4: Let your car “cure” for the allotted time frame as per the instructions of your wax. There’s also a quick test for ensuring the dryness of your wax:run your fingertip on a waxed area of your vehicle. If the surface is smooth and not sticky to the touch, the wax is ready.
Step 5: Lastly, using your microfiber cloth, remove any residual wax left on your car using the same small circular motions as before to have an even, sparklingly shiny surface.
It might take some time, effort and a little bit of elbow grease to get your car shining like the professionals but it is worth it in the end. If you do not have the time to do it yourself, check out our convenient locations and schedule an appointment with us. At DetailXPerts, we know what your car needs inside and out. Our friendly staff can give you a few tips and tricks so you too can learn how to wax a car like a professional.
Enjoyed this post? Sign up for our newsletter to receive more valuable tips, ideas, coupons, and extras!