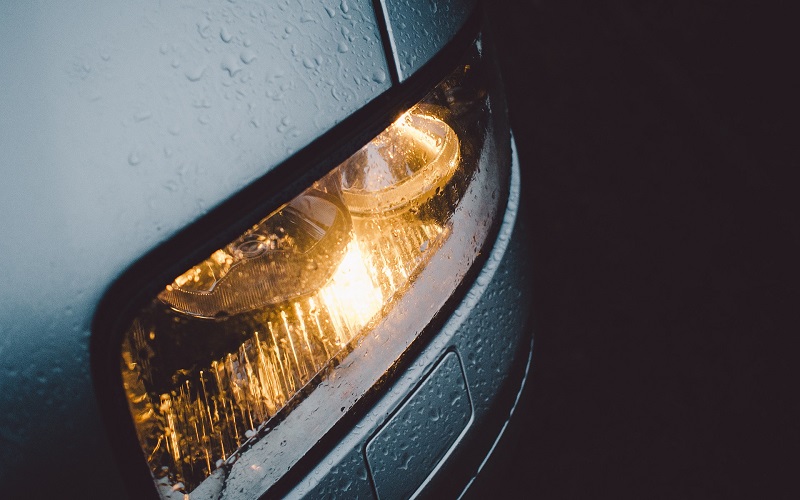
Car headlights cleaning is one of the most important things you can do to improve your everyday driving. Unattended, foggy headlights can impair your vision and make your car less visible to other drivers. According to DMV, foggy or hazy headlights is a major cause of accidents in night time driving.
There are different methods for cleaning car headlights. The difference is how long it will last. Headlight restoration is not very difficult to do, but it does require some skills and time. You want to make sure you are using the correct auto detailing supplies. Some detailing supplies work better than others and this sometimes depends on your vehicle type.
Getting Started with Car Headlights Cleaning
If you plan to restore your vehicle’s headlights you will need the following items:
- Sand paper 400 / 800 /1000 / 2500 grit
- Polishing compound
- Headlight restoration sealer
- Blue masking tape
- Spray bottle
- Paper towel or rags
- Lint free applicator
Step 1: Sanding
Car headlights cleaning starts with soap and water to remove all the debris. Next, tape off your headlights with blue masking tape to avoid damaging other areas. Now that your car is taped off, start sanding your headlights with the 400 grit sanding paper.
IN HEADLIGHTS RESTORATION, SANDING IS THE MOST IMPORTANT STEP!
You must keep your headlights moist by spraying them with water. Sand with the 400 grit sand paper until the headlight is clean and clear, not yellowish.
The next step of the car headlights cleaning process it the washing of the headlights to remove the entire 400 grit residue. Continue to sand with the 800 grit, then move on to the 1000 and then 2500. It is important to wash the headlights after every sanding.
If your headlights are foggy or cloudy in some areas, but crystal clear on others, this means your headlights have some manufacturer sealant left behind. Believe it or not, headlights in this condition are a little more difficult to restore than completely oxidized ones. We recommend that you start with a 220 grit sandpaper when you are restoring partially foggy headlights or headlights that are just starting to get foggy or cloudy.
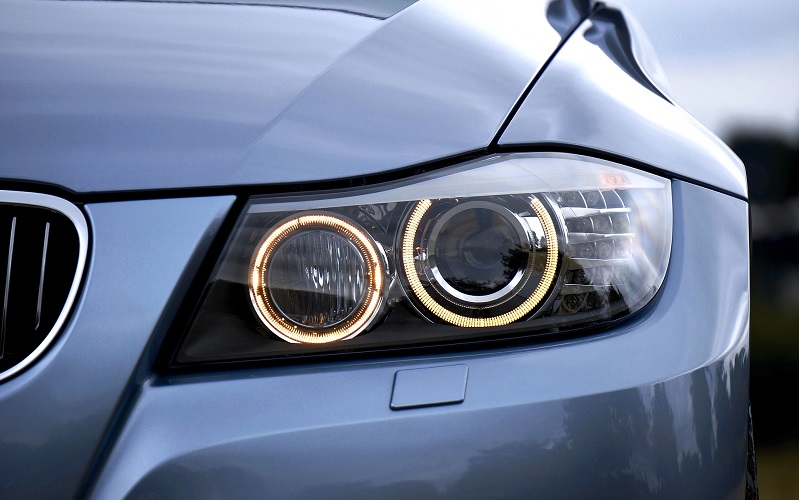
NOTE: Sand from right to left in order to get the best results. At the end of sanding with 2500 grit, your headlights should look clean and a little hazy or cloudy. This is perfectly normal.
Step 2: Polishing
Use a water soluble compound or polish for this step. Most polishing compounds work best with a buffing pad or a buffing machine. When buffing your headlights you must use caution as not to spend too much time on any one spot – this will burn your headlight lens. Always read the instructions of all compounds you use.
Step 3: Sealing
Wash and dry the headlights thoroughly after polishing. Water will be your enemy in sealing your headlights. Apply the sealer from left to right. Leave to dry for 15 minutes or more, depending on the weather conditions in your area.
Find DIY headlight restoration a little too taxing? Schedule your appointment with DetailXPerts and let the pros restore your headlights to brand new.
Enjoyed this post? Sign up for our newsletter to receive more valuable tips, ideas, coupons, and extras!