There are several steps involved in both interior and exterior auto detailing, so it is easy to forget one or two crucial steps along the way. DetailXPerts will help you complete your next detailing job methodically by showing how to detail a car in 10 distinct steps.
How to Detail a Car – 10 Easy Steps
Watch this easy-to-follow video about how to detail a car in 10 steps:
Step 1 – Clean the Wheels and Tires
 You may be surprised to hear that cleaning the wheels and tires comes first. There are two reasons for this: If you clean the exterior first and then start working on the wheels, you will not wait untul the water dry and it will etch into the paint causing water spots. If you completely dry the body first and then work on the wheels, there is a chance that dirt and overspray will sling on to the clean paint. To prevent these, we recommend cleaning the wheels and tires as the first step.
Choose a proper cleaning product depending on type of the wheels and tires. For example, you cannot clean chrome using all cleaner types, especially harsh ones. Mothers Wheel & Tire Cleaner is a product that can be safely used on all types of surfaces. Work on one tire at a time. Spray the cleaner and use a soft-bristled brush to remove grease, dirt, and old tire shine.
Follow with tire shine. You can also polish the chrome to give the wheel that extra shiny appearance. However, save these steps for until after you have washed the exterior fully and dried the tires and wheels completely. Applying tire shine on to wet tires increases the chance of product sticking onto the paint.
Step 2 – Wash the Exterior
Start at the top or the roof. Equip yourself with a proper car wash shampoo or soap, wash mitt and microfiber towels. Don’t use a running hose as this will cause massive water wastage. Use the “two-bucket wash method”, where one is filled with water for rinsing, and the other with a mixture of car wash shampoo or soap and water. Also, make sure that your car is parked on a gravel road or on the lawn. This is to prevent toxic water from entering storm drains and contaminating lakes and rivers. Steam cleaning is the best alternative for effective cleaning and preventing water wastage. Use only a gallon per car instead of 40 gallons used by the traditional wash method!
You can also use a separate product for window and windshield cleaning. Tinted glass especially needs a product that is free of ammonia. Don’t forget to clean both inside and outside of the glass.
Once the exterior has been completely cleaned, it is time to dry it. Use a microfiber towel for this purpose as they can absorb a great amount of water without damaging the paint. This is an extremely important step because if you leave the car to “sun dry”, water spots will etch into the paint.
Step 3 – Use a Clay Bar
The clean and dry exterior of the car is now ready to be clayed. Automotive clay is used to remove microscopic contaminants that washing alone will not get rid of. First, shape the clay bar into a shape that comfortably fits in your hand. Use an ample amount of clay lubricant on the surface to facilitate easy gliding of the bar. If the clay bar is too dirty for your liking, use a new piece to prevent paint scratches. You can also use this product on windows and the windshield. Once the clay bar moves smoothly on the surface without sticking to it, the process is complete and you can wipe down the surface with a microfiber towel.
Step 4 – Polish
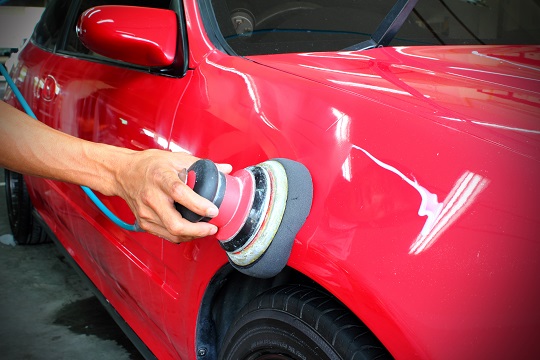 Polishing is a necessary step if the paint has scratches and swirls. If you are a novice to auto detailing, use a dual action polisher for easy handling or if you have advanced experience, use a rotary buffer. Additionally, you can also work polish into the paint by hand. There are different types of polishing and rubbing compounds with different levels of abrasiveness. We recommend starting with a less abrasive one to minimize damage. However, the higher the abrasiveness is, the better it will be at removing paint defects. But the risk of paint damage is very high, especially when it is applied using a polisher.
Step 5 – Apply Wax or Paint Sealant
 It is now time to seal in all the hard work you’ve completed and give the exterior a beautiful shine by applying wax or paint sealant or both. You can either choose natural carnauba wax or synthetic wax depending on the type of look you are going for. Waxing protects the paint from harsh elements and ensures the surface remains shiny and lustrous for as long as possible.
Step 6 – Apply Tire Shine
As mentioned in the fist step, once all the washing and drying has been completed, you can apply tire shine. Make sure the product has fully dried before driving away, as this will prevent the product getting on to the paint, and the accumulation of brake dust on the tires.
Step 7 – Steam the Interior
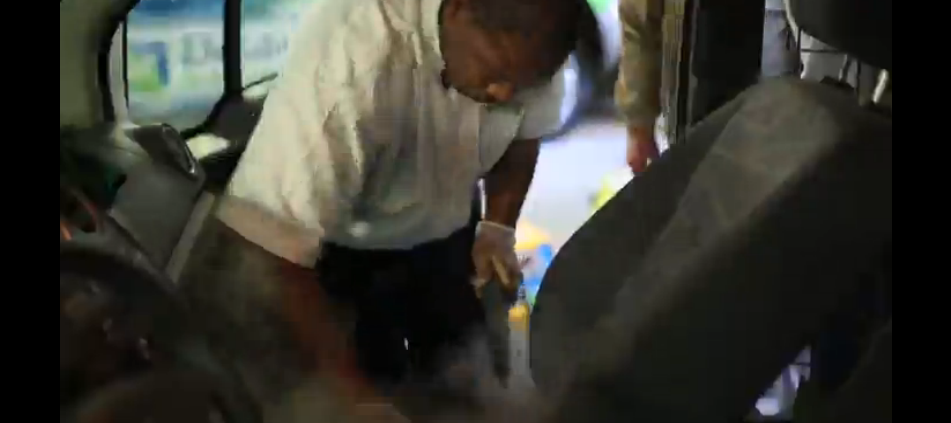 Now that exterior detailing is complete, let’s work on the interior. Remove all carpets before thoroughly steaming the interior. Steam all nooks and crevices. Use a soft bristled brush to remove dirt from hard to reach surfaces like seat creases, door pockets, etc. Don’t forget to steam the carpets, too.
Step 8 – Use an Upholstery Cleaner
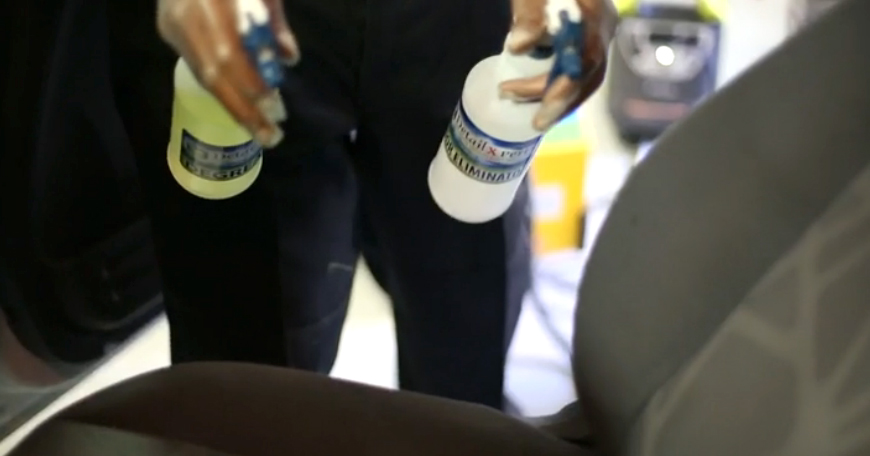 Use an upholstery cleaner to get rid of stains such as mud, food spills, pet stains, blood, etc. Make sure your upholstery type can be cleaned by the product you selected. Note that steam works great on all upholstery types including leather, suede, vinyl, and fabric.
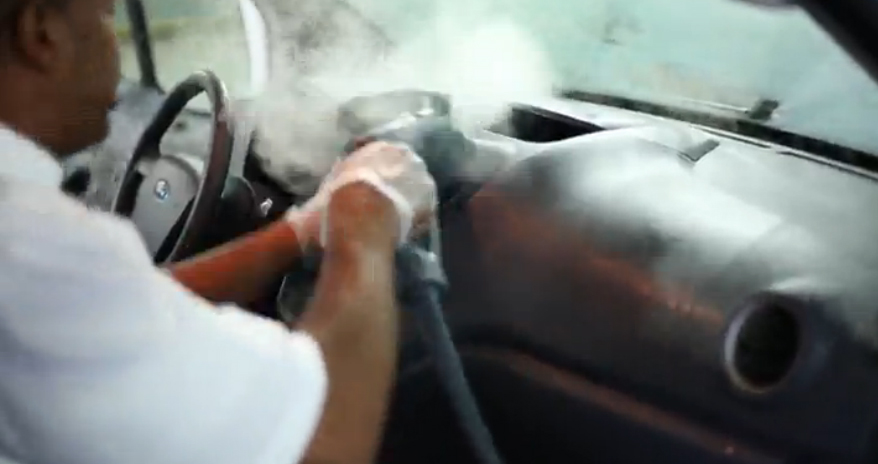
Step 9 – Clean Vinyl Surfaces
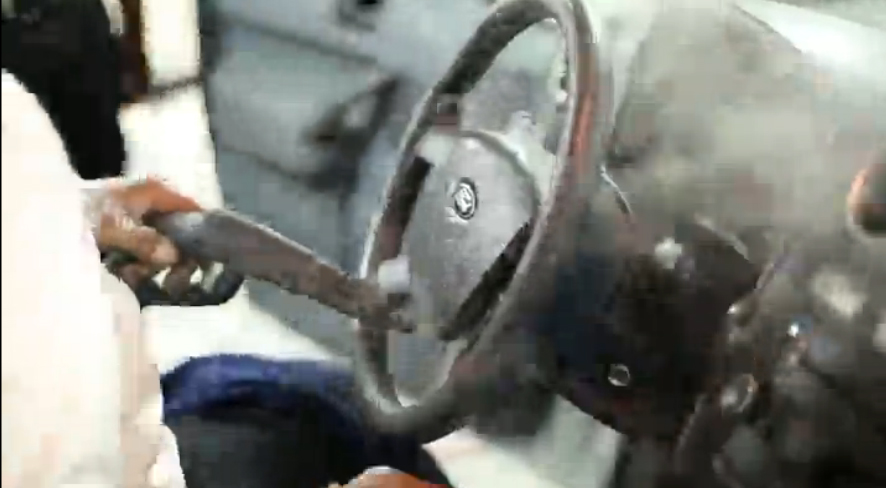 Use a multi-purpose interior detailer to clean the dashboard, steering wheel, and the console. As these areas continuously come in touch with your hands, they need to be thoroughly cleaned.
Step 10 – Sanitize the Air Vents
 Use a steam cleaner to fully sanitize and clean the air vents that are carriers of dangerous bacteria. This will also result in the elimination of bad odors.
Need a professional hand to complete these steps? Schedule an appointment with DetailXPerts for amazing detailing results with the help of organic steam cleaning.
Enjoyed this post? Sign up for our newsletter to receive more valuable tips, ideas, coupons, and extras!