The average American drives up to 25-30 miles in one day. Unpredictable driving conditions during the day require that car owners maintain the entirety of their vehicle, including the headlights. Cloudy or damaged headlights impair both you as the driver and other drivers on the road. Another driver or pedestrian may not be aware of what’s approaching if your lights don’t work properly. Different issues require specific approaches depending on the problem. This comprehensive guide will tell you the best methods for cleaning car headlights.
Cleaning Car Headlights 101
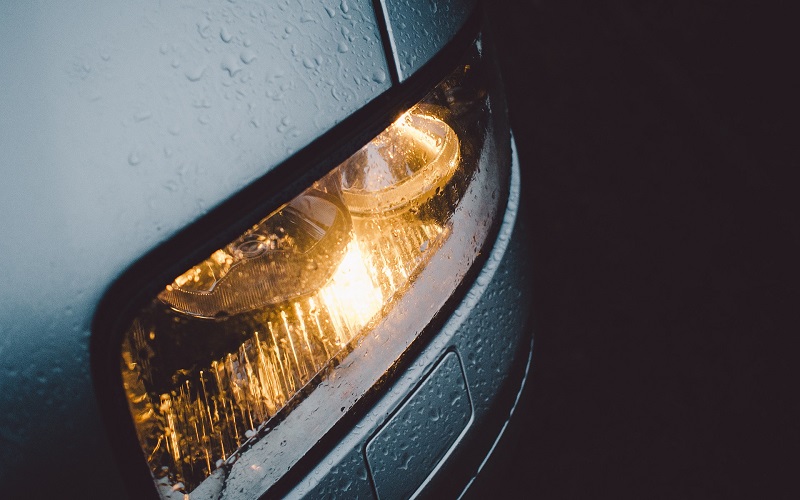
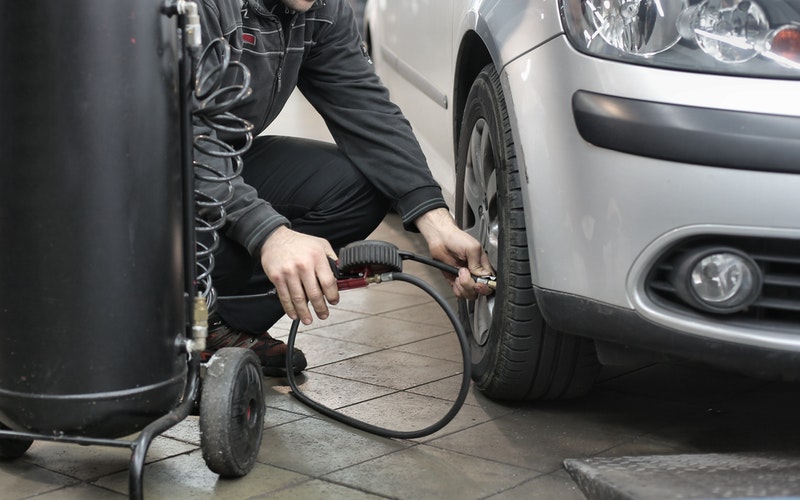
As a car owner, the best practice to avoid accidents is to check the headlights while you are pumping gas. Headlights eventually age and fade over time, developing films that can distort the beams. First, you need to remove the headlights to determine the specific issue. This allows you to understand the correct steps for the damage to restore them to their former condition.
Understanding the Materials
Headlights made of a material called polycarbonate plastic create a durable and scratch-resistant component. However, the plastic clouds over time from exposure to the sun. Luckily, the majority of headlights on the market are easily removable to allow restoration. This means effort is required to completely replenish the plastic, but the end results are unparalleled.
Different Types of Headlights
Tungsten halogen headlights are the most commonly found on vehicles. Tungsten filaments are contained in an inert gas with a halogen (iodine or bromine). This prevents the tungsten from blackening the glass. To identify these lights, they generally have a warm yellow hue.
High-Intensity Discharge (HID) headlamps vaporize metallic salts within a chamber containing xenon gas. This product more light than the regular halogen lamps and are usually found in higher-end vehicles. However, the one downfall to HID lights is the glare. Other drivers recognize the lamps due to the cool blue tinge.
LEDs use low energy, have a longer lifespan, and flexible design. Normally, they are strips of lights or small rings. Engineering challenges prevent the LED headlights from snagging the top spot in the market. The lights shine a bright, white color.
Surprisingly, some manufacturers are working on a laser as replacements for headlights. Using a fluorescent phosphor material, the color changes from blue to white and this helps eliminate any harmful rays. The lasers work more efficiently while utilizing less power from the car. This also allows the lights to automatically adjust during different conditions.
Yellowing Headlights
The clear coat on your headlights degrades over time due to road salt, pollution, and natural aging. As a result, the sun’s UV rays will begin dissolving the plastic, which creates the yellow appearance. On the bright side, the solution for this problem can be done at home. Any local automotive store will carry a restoration kit for yellowing lights.
Sanding is the primary method for removing the “aged” look. Sandpaper grinds away the damaged plastic and restores the original condition and color. Finally, polish the headlight to keep dust and road grime from sticking to the surface.
For added protection to headlights, a specialized solution helps prolong the life of the plastic. A clear coat sealant works the best to protect the material. This prevents grime and debris from gathering underneath the light and degrading the clear coat. However, these products can be expensive so ensure you research the best solution for your vehicle.
Cleaning Car Headlights That Are Cloudy/Foggy
Foggy headlights develop from a combination of sunlight exposure and grime build-up. However, compared to other methods for cleaning car headlights, this is one of the easiest.
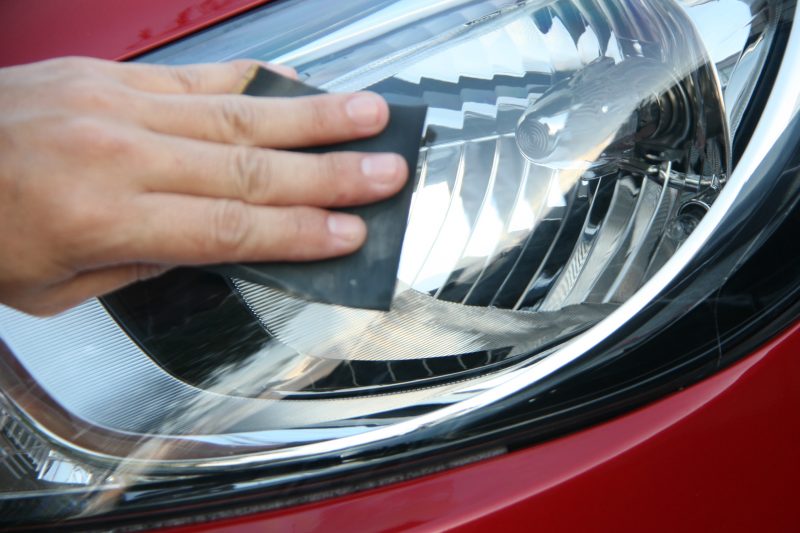
Before you work on cloudy headlights, remove the bonnet and place masking tape around the perimeter of the area. This ensures that sanding, water, dust, and stray drops from the cleaning agent won’t harm other sections of your vehicle. First, wash the headlight with a generous amount of water, and then begin wet-sanding the entire headlight.
Depending on how extensive the film determines how long you need to sand the plastic. This process only requires a small amount of pressure to remove the cloudy appearance. Once the plastic returns to a clear finish, wipe off the area to eliminate any leftover residue.
Scratches on the Surface
With deep scratches, the basic steps for cleaning car headlights don’t resolve the problem. Instead, this type of problem takes more elbow grease and time to completely eliminate the issue.
Grab several sheets of grit sandpaper and wet the pieces. Before sanding, apply a compound solution to the sandpaper. Use these to smooth over the section that is scratched, switching out each sheet when finished. If this doesn’t completely eliminate the scratch, buff the area where you applied the compound. This should finish filling in and sealing the scratch.
The best way to avoid scratches on headlights is utilizing a scratch-resistant compound on a regular basis. A coat of wax also helps to prevent any road debris from sticking to the plastic surface and creating scratches.
Electrical Issues
Throughout the day, headlights are always on, whether it’s your daytime running lights or regular beams at night. This means one of the first electrical issues people normally experience with their vehicles occurs in the headlights.
There are several different problems that could lead to flickering or burnt out lights. Whether the issue developed from the alternator or loose wires, finding out the cause is simple. However, fixing the problem generally requires more work. Once you decipher the electrical issue, take care of it as soon as possible. If not, severe, long-term damage can occur when people put off fixing their headlights.
A few things to check that you can do yourself: loose connectors, starter switch, or additional accessories that require power. With loose wires, drivers generally are able to tighten the connectors and fix the problem themselves. However, if the alternator is the problem, it needs to be replaced by a professional. Changing the alternator is best left to someone with prior experience, as installing these incorrectly can be dangerous or costly if done incorrectly.
Adjusting Headlights
To know whether your headlights align properly, park close to a wall. Switch the lights to low beam and use masking tape to mark where the centerline appears on the wall. Turn your lights on bright and mark where the centerline falls.
Finally, back the car up 25 feet and repeat the process for both the low and high beams, marking each one. If the headlights are aimed correctly, the 25-foot distance centerline should fall two inches below the first marks. If not, you will need to adjust your lights.
With new halogen headlights, you can adjust these by opening the hood and finding the rear portion of the headlight assembly. There are screws located in the center of the light for vertical alignment, as well as, inside for horizontal. Using a screwdriver, adjust them by turning the screws until each light hits its desired mark.
Methods for Cleaning Car Headlights
Cleaning car headlights have several different ways to approach the task. Home remedies show up frequently, as well as, kits bought from the store. Determining what method you use depends on how extensive the damage to your lights seems to be.
Home Remedies
Most people who look up restoration tips for headlights end up with toothpaste as a cleaning agent. This method is inexpensive to help replenish foggy lights. Using your fingertips, apply the paste to the inside of the plastic bonnet. Brush the paste in small, circular motions to remove the grit from the crevices. Finally, rinse with warm water to remove the toothpaste.
Baking soda and vinegar is a winning combination when it comes to cleaning anything. The same method works for cleaning car headlights as well. Mix the two ingredients and apply to the surface with a microfiber cloth. Rinse and repeat this process as needed. As an additional prevention, you can use wax on the headlight to help avoid deterioration in the future.
One method suggests utilizing bug spray to eliminate the foggy appearance. However, unless you want permanent damage to the plastic, don’t use this method. The chemicals in the spray removes the film from the headlight but it also can deteriorate the layers of the plastic.
Restoration Kits
Headlight restoration kits are quick fixes for the average deterioration of plastic. Purchasing these from the store provides all the materials needed to properly care for your lights. However, being aware of the best products on the market will help you choose what is best for you vehicle.
Sylvania Headlight Restoration Kit
With the greatest improvement in illumination and appearance, the Sylvania Headlight Restoration Kit is the best on the market. The kit requires a total of six steps, with each product needed for restoration included. Fine grades of emery paper, sandpaper, and UV-blocking polymer coating are a few of the necessary tools. The process takes time, but is also user-friendly and requires no prior experience.
3M Headlight Lens Restoration System
The 3M Headlight Lens Restoration System requires four steps to complete the process. However, the system involves more polishing than the competitors. This kit includes sanding disc attachments for an electric drill. This means that only people comfortable with power tools should invest in this product.
Turtle Wax Headlight Lens Restorer
The most cost-effective product for headlight restoration is the Turtle Wax Headlight Lens Restorer. When compared to other products, the improvements are equivalent to the more expensive solutions. However, the results didn’t last as long as the top-performing products.
This process has a total of six steps, the final one a protective sealant. The provided sealant degrades at a faster rate than the other protectants on the market.
Rain-X
The Rain-X Headlight Restoration Kit has multiple steps to provide a more extensive process for cleaning car headlights. Unlike the other products, Rain-X provides three grades of sandpaper to use in sequence. A spray lubricant is combined with the sandpaper to help remove yellowing. The included polish removes small scratches and minor imperfections to smooth the surface of the plastic. Finally, apply the sealant to protect the lights from the outside elements for ultimate visibility.
Maintenance after Cleaning Car Headlights
For the safety of drivers, headlights ensure optimum visibility for every type of driving condition. Twenty percent of Americans have restored previously deteriorated headlights. However, once the issue is resolved, maintaining the pristine condition is key.
For the safety of you and other drivers, if one of the lights is dim, replace both of the bulbs. Even if the other headlight hasn’t faded, replacing only one will make your vision uneven. The new bulb will be brighter than the old one, which creates an issue for you as a driver, and others on the road.
Cleaning car headlights on a regular basis is the number one way to maintain their condition. Removing road debris and dirt from your lights keeps the sediment from damaging the clear coat on the plastic. This helps avoid scratches and foggy/cloudy residue development.
Prevention
Both auto dealerships and automotive stores offer preventative lens treatments. When these products are applied regularly, this extends the life of the factory coating. Also, using these types of solutions helps avoid the yellowing plastic.
Waxing your headlights is important as waxing the exterior paint of your car. This can be applied to the lens treatment to add an extra layer of protection. Wax keeps debris from sticking to the surface of the plastic.
Professional technicians with extensive knowledge of the proper steps for cleaning car headlights is another option for car owners. DetailXPerts, an eco-friendly, mobile auto detailing company specializes in headlight restoration. Schedule an appointment today to return your lights to their former, pristine condition.
Enjoyed this post? Sign up for our newsletter to receive more valuable tips, ideas, coupons, and extras!