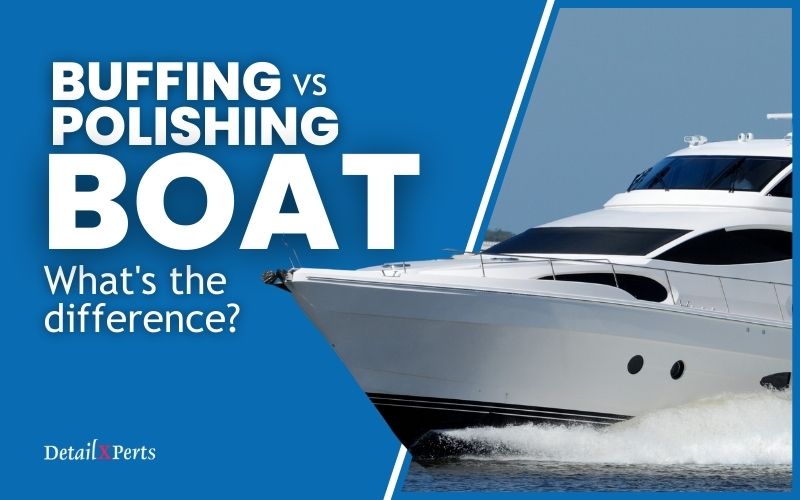
Sailing is one of life’s pleasures that land lubbers will never know. For boat owners, it’s experiential – from buying or building a boat to applying gel coat to refurbishing and maintaining it to make it seaworthy. Boat owners know the importance of protecting their boats against the elements. One way is applying gel coat to your boat.
What Is a Gel Coat?
A gel coat is the outermost structural layer on a fiberglass hull. It is designed to protect the underlying fiberglass layers. A gel coat is a type of pigmented epoxy compound that produces a smooth, high-quality finish over composite materials like fiberglass.
When cured, gel coat combines with fiberglass to produce a smooth and durable surface. This prevents or delays the hull from weakening from water intrusion and ultraviolet light. Gel coat also protects the boat from leaks and cracks.
Boat owners should at least know the basics of applying gel coat to their boats. This complete step-by-step guide could come in handy.
Applying Gel Coat to Your Boat: 10 Steps
1. Get Ready
Be ready with all the tools and products necessary for applying gel coat or repairing it. Plan and prepare the tools and supplies ahead of time. Pick a shaded area to work. Applying gel coat shouldn’t be done during extreme weather conditions. Rain and humidity can also affect the repair.
Doing a store run in the middle of a job is a waste of time and effort. Here is a checklist. Store some items on board for quick fix emergencies.
- Pressure Spray Hose
- Bucket
- Boat Fiberglass Cleaning Solution (detailing product)
- Acetone Solution
- Masking or Painter’s Tape
- Microfiber Cloth
- Large Rags or Sponges
- Disposable Gloves
- Safety Glasses
- Disposable Mask
- Paint Brush
- Spray Coat Applicator
- Fine Grain Sandpaper
- Sealant
- Gel Coat Paste
- Plastic Film or Wax Paper
- Spray or Liquid Gel Coat (clear or colored)
- Fiberglass Filler
- Fiberglass Hardener
- Rubbing Compound
- Buffing Machine
- Polish
- Wax
2. Clean Your Boat Before Applying Gel Coat
Make sure to wash your boat well with the proper boat cleaning products. It is important to rinse the boat thoroughly with a pressurized spray hose. Gel coat will not stick well when dirt remains. Wipe dry the boat well with a clean microfiber cloth or chamois.
3. Identify Each Crack, Chip, Scratch, Damaged or Worn out Surface
Mark each identified crack, scratch, chip, or damaged surface using the masking tape or painter’s tape. Cover and protect parts of the boat that will not be worked on.
4. Sand the Damaged Area
Once you’ve identified the damaged surface, clean the area again. Wet sand the crack with a medium grit sandpaper. Sanding has to be done properly to repair the crack. Make sure you choose the right grit of sandpaper to prevent damaging a good layer of gel coat.
5. Apply Gel Coat Paste that Matches the Exact Color of the Hull
Before applying gel coat paste, match the color of the paste with the color of the hull. This may entail some testing to get the right gel coat color. Once you’ve got the right color, fill the sanded down crack with a pigmented gel coat paste using a putty knife. Check that there are no air bubbles. Let the gel coat stand to cure it completely. Cover the treated area with plastic film or wax paper.
6. Allow the Area to Dry
Do not rush. If necessary, you may need to sand the area once again. Apply another layer of gel coat paste to make it durable. Allow enough time to dry out the area. Cover it again with plastic film.
7. If the Gel Coat Is Worn out, Repair It
Apply a fiberglass cleaner to restore the shine and take out the dirt. If the gel coat needs more work, sand down the area again. Fill in the cracks with a mix of fiberglass filler and hardener. This should blend well with the gel coat.
8. If the Old Gel Coat Is Highly Oxidized, Fix It Right Away
Timing is key for this step. Attending to this should be done early enough to avoid incurring high cost of repair. Sand the remaining gel coat with a fine grit sand paper. Smooth out the cracks. The old gel coat could also be removed with acetone. Once the hull is dry, apply new gel coat with a spray applicator or brush. Apply as many layers of gel coat as necessary.
9. Polish the Gel Coat Area
If needed, a rubber compound can be used before polishing to smooth out dull surfaces.
Polishing protects gel coat areas by keeping the boat’s exterior clean and rust free. It keeps the area smooth and glossy. Polish restores and maintains the shine of a boat’s fiberglass gel coat. It restores the high gloss of the boat’s original paint.
10. Waxing
Waxing protects the paint’s finish against UV rays, water impurities, and minerals which can damage the boat. It enhances the depth, shine and luster of a boat’s paint.
A good number of boat owners are hands-on. They regularly clean, wash, polish, wax, and cover their own boats. It’s all good. But on certain occasions, boat owners may want to spring for a professional boat detailing service. Maybe they just want to get expert advice on whether marine paint or applying gel coat is sufficient to repair a boat. Schedule an appointment with DetailXPerts to get professional detailing advice and work done on your boat.
Enjoyed this post? Sign up for our newsletter to receive more valuable tips, ideas, coupons, and extras!