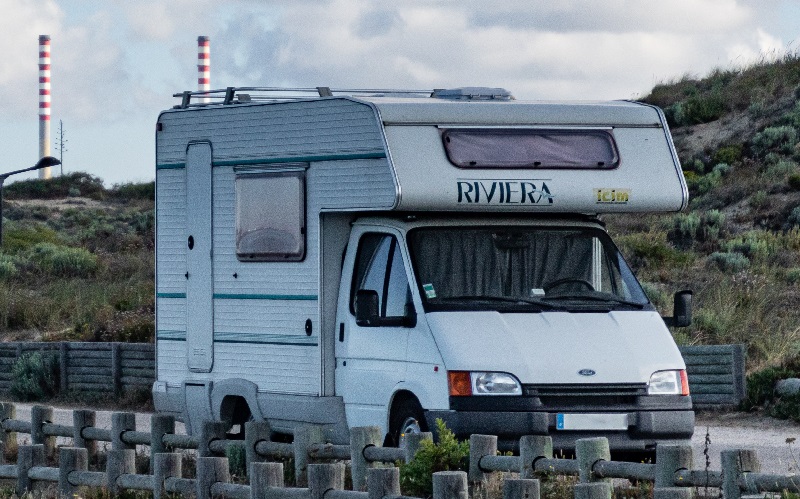
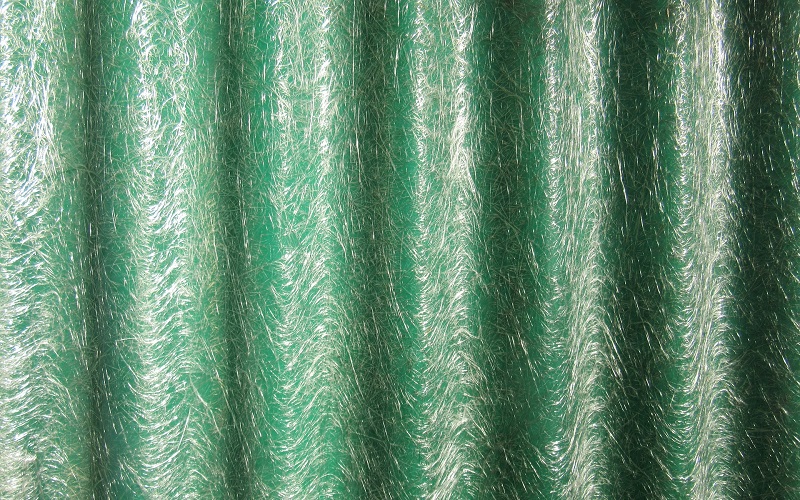
Fiberglass is one of the common materials used to construct an RV roof. It is lightweight and durable but may need some attention if it shows signs of wear and tear over time. If this is the case, your RV might need more than a RV wash and wax service. Applying a fiberglass roof coating can make all the difference. The benefits include making your RV roof watertight and crack-resistant while also extending its life by protecting it from the elements. If you plan to carry out any restorative work on your RV roof, take extra care while working at height to avoid falls and injuries. Once you have the necessary RV detailing supplies to hand, simply follow these steps to make your RV roof look as good as new.
Steps to Follow When Applying Fiberglass Roof Coating
Before You Begin
- Choose your fiberglass roof coating
There are different types of coating suitable for a fiberglass roof. The one you go for depends on your preference and budget. Some coatings are formed with acrylic fiberglass resins to create a durable coating that will flex with your RV roof movement. How much you need depends on the area of the roof. Ideally, you should aim to apply a couple of coats for maximum coverage and to provide an extra layer of protection.
- Check the weather forecast
The fiberglass roof coating, once applied, will need time to dry. You don’t want a rain shower to spoil your work. Too much sunshine can also affect the coating application. Choose a shaded area for optimum results. Rain and sun are not a problem if you are working inside. However, if this is the case, be sure the area is well-ventilated.
Use Protective Sheeting
You will need:
- Protective overspray sheeting
Before you start cleaning an RV and applying a roof coating, you may want to use protective overspray sheeting or a masking film like a clear polyethylene sheet. The purpose of this is to protect the exterior of your RV from any runoff. If you decide not to bother with protective sheeting, take extra care when you are applying the fiberglass roof coating and be sure to mop up any spills and splashes that go down the sides of your RV.
Apply Tape Around Edges and Vents
You will need:
- Waterproof fiberglass tape
Prep work for RV fiberglass roof maintenance also includes protecting all the seals and vents. Tape around the sides and edges of the roof to help prevent the fiberglass roof coating from splashing over the sides. This will give you a much neater appearance with clean lines.
Get Rid of Leaves, Dirt and Loose Debris
You will need:
- Long-handled broom
- Air blower (optional)
Your RV roof easily attracts leaves, dirt and grime. Therefore, it is important to clean it thoroughly before you begin applying fiberglass roof coating. Working on a clean base will help you to achieve a smooth, flawless finish. Once you’re up on the roof, it is also a good opportunity to run through your de-winterize RV checklist. This includes inspecting for leaks.
Wash the Roof to Shift Stubborn Stains and Marks
You will need:
- Medium/stiff bristle deck brush
- Water and a mild detergent that is suitable for use on an RV fiberglass roof
Carefully wash off any signs of mildew, stubborn mold and any tree sap stains. Look out for eco products that are gentle on the roof and better for the environment. Harsher chemicals are not great for the clear coat. Alternatively, you could use a pressure washer on a low setting. Knowing how to wash an RV properly makes all the difference when it is time to apply the fiberglass roof coating.
Remove Any Scratches or Imperfections
You will need:
- Rubbing compound or fine/medium grit sandpaper
- Hose for rinsing
Gently sanding the roof will help to remove any signs of oxidation and other blemishes. It will also create a slightly textured surface that will help to enhance the adhesion of the fiberglass roof coating. Rinse the roof with water after sanding to remove any fine dust particles. Leave to dry completely before beginning the application process. If you need professional help with oxidation removal, be sure to research RV detailing prices to get a good-value deal.
Apply the Fiberglass Roof Coating
You will need:
- Long-handled roller brush
- Paint brush
- Paint mixing tool
Stir the coating mixture thoroughly before application. Use the paint brush to apply the coating around all the edges and corners of the roof, carefully working around air vents, skylights, air conditioning units or anything else that is fixed on the roof.
Then use the roller brush to apply the rest of the fiberglass roof coating. Work in sections in a methodical configuration to avoid walking over freshly applied coating. Apply the first coat and leave to dry completely. Then apply a second coat. Leave to dry again. Keep an eye on the weather to make sure no rain comes into contact with your roof. Once the final fiberglass roof coating dries, you should have a smooth finish and a beautiful-looking roof.
Finally, don’t forget to clean your tools and brushes after you’ve used them. This will prevent any surplus roof coating from drying and hardening on bristles. This can be very difficult to remove when dried.
Conclusion
When it comes to applying a fiberglass roof coating on your RV, the preparation steps are very important. They make all the difference to the finished result. Once the coating has been successfully applied, your RV should look good as new again. Give yourself enough time to do the job, bearing in mind that you need to leave the roof to dry after washing and applying the individual coats. It is a time-consuming job but it is worth doing and worth doing well. Not only will it restore the appearance of your RV but it will also protect the roof from exposure to sunshine and harsher weather during winter months.
Coating your RV roof is a big job to take on. You are also working at height, which can be dangerous, especially if the roof becomes slippery after washing. Understandably, you might want to leave a job like this to the professionals. So why not schedule an appointment with DetailXPerts – our professional RV detailing services will make sure your motorhome shines like new, inside and out.
Don’t forget to connect with DetailXPerts on Pinterest and check out our RV Cleaning and Detailing board.


