Car Wash Services
There is no shortage of professional car wash services if you don’t have time to clean your car. However, with…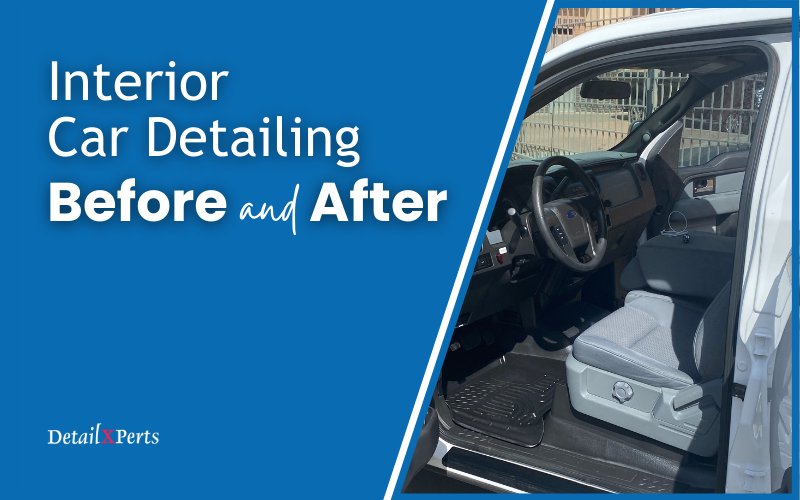
Interior Car Detailing Before and After
Seeing the difference between before and after interior car detailing gives you a good idea of how a vehicle benefits…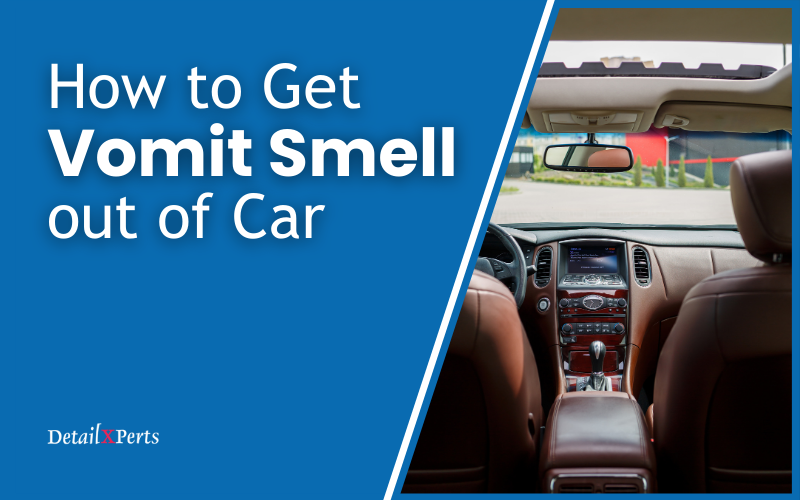
How to Get Vomit Smell out of Car
When you need to know how to get vomit smell out of car, follow our guide to deal with the…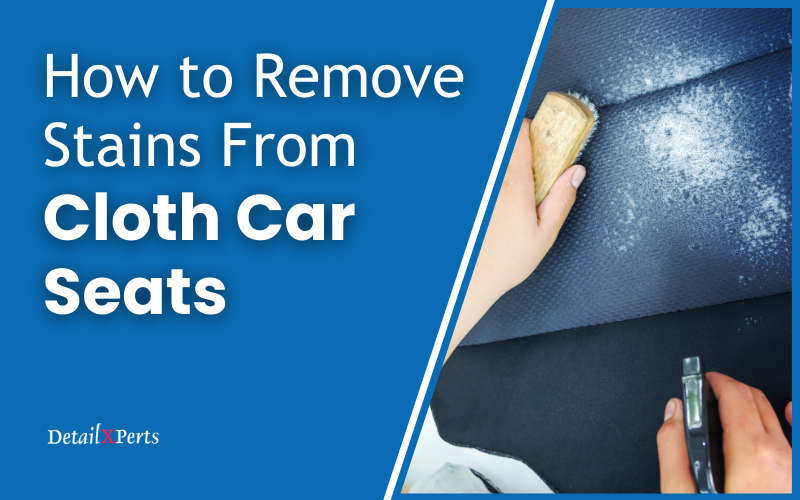
How to Remove Stains From Cloth Car Seats
We’ll show you how to remove stains from car cloth seats if your car interior is not looking its best.…
How to Get Weed Smell out of Car
How to get weed smell out of car? If you’ve bought a second-hand car with a lingering weed (marijuana) smell,…
Turn Your Hobby Into a Business
It can take a giant leap of faith to turn your hobby into a business. But if you’re passionate about…
Maximizing Entrepreneurial Attitude
You can go far in life with the right entrepreneurial attitude. And if you need help developing this proactive and…
Choice Is Your Super Power
If you feel stuck in your career or personal life, the power of choice is your secret weapon. Emmanuel and…
Risk-Taking in Business
Risk-taking in business and entrepreneurship is essential for growth and change. However, fear of taking the leap is a natural…
How to Choose the Best Car Interior Detailing Kit
A car interior detailing kit helps you clean and protect the inside of your vehicle. And having all your tools…
Barking Dogs, Big Lessons: How to Achieve Business Success by Applying Canine Psychology
If you want to know how to achieve business success, you can learn a thing or two from dog training.…