Roads, accidents, and even small children’s play can lead to the need for a car scratch repair. Daily travel subjects vehicles to sand and small stones on the road. A vehicle in a car park can be scratched by another vehicle. Even a child playing in the garage can scratch the paint with a toy. This is why a guide on how to do car scratch repair is necessary, like the one we have below.
Car Scratch Repair: A Step-by-Step Guide
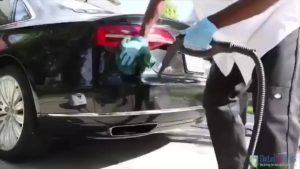
1. Wash Your Car Thoroughly
Better yet, steam clean it to ensure no contaminants are left behind. A small speck of dust or sand can get trapped in the tools you’ll be using during the process of car scratch repair. This may cause further damage to the paint. Therefore, we highly recommend a thorough wash before fixing a car scratch with the appropriate products. After washing, dry the affected area thoroughly.
2. Inspect the Affected Area Carefully
How deep are the scratches? How severe? To check the depth of the scratch, do the fingernail test. Scrape your fingernail on the paint. If the marks disappear, a simple wipe-off with a cloth will do. But if your fingernail goes deeper, then you have to perform car scratch repair.
3. Gather the Necessary Tools and Materials
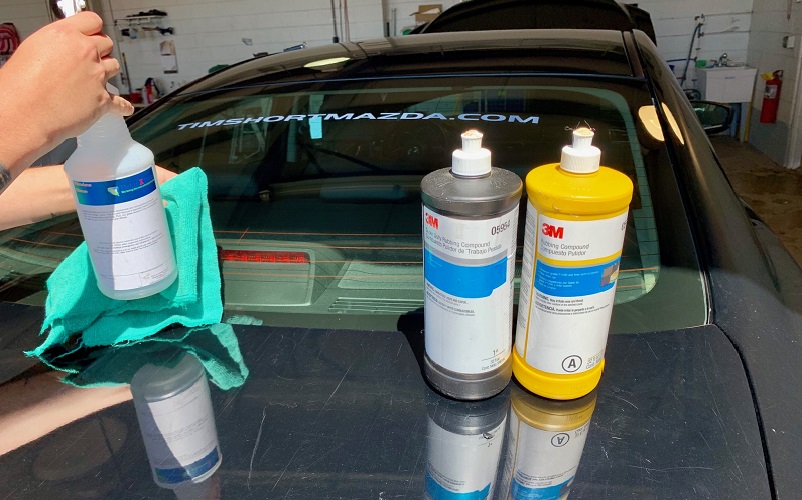
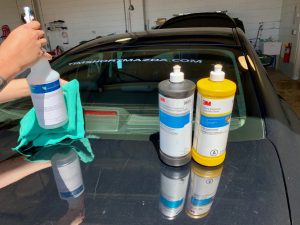
One of the most common car detailing mistakes is not using the right products. When doing a car scratch repair, the tools and materials you’ll need will depend on the severity of the marks. In this guide, our technician used the following products: 3M Super Duty Rubbing Compound, 3M Rubbing Compound, DetailXPerts’ Window Shine, microfiber cloths, and rotary buffer. You may try a homemade car scratch remover or another selection of products, too.
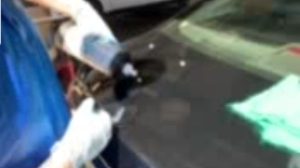
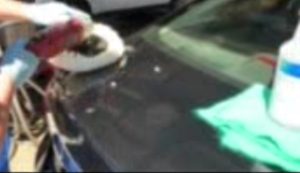
4. Put Some Rubbing Compound
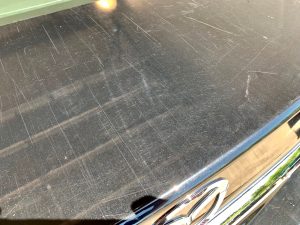
Rubbing compounds like the ones our technician used (3M products) expedite the scratch repair process. It allows you to skip the sanding down part (which, when done incorrectly, can further damage car paint) IF your car’s scratches are not too deep like the ones shown in the picture above.
Rubbing compounds help remove swirls, scratches and other paint imperfections faster and easier. There’s not much need for elbow grease as the products work for you.
Make sure to apply just a small amount of product. Caution – if you are not too skilled with the repair process, it’ll be best to put the product on the buffer head so you can spread it evenly.
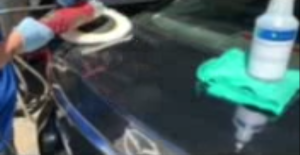
5. Apply the Product Evenly
With a buffer, you save time and effort. Moreover, doing the buffing manually is both tiring and time consuming. Plus, buffers give better, even results. They are irreplaceable when it comes to how to fix peeling clear coat on car.
Using a circular motion, spread the product evenly on the surface. Work panel by panel. Repeat the process until you finish the entire area.
6. Buff Away
Go back to the panel where you first applied the rubbing compound. Buff slowly and steadily to ensure quality results.
Repairing car scratches is possible if you have the right skills, tools, and materials. However, if you do not have the time to do it yourself or you prefer a professional touch, you can schedule an appointment with DetailXPerts. We offer eco steam detailing specialties, car scratch repair being one of them.
Enjoyed this post? Sign up for our newsletter to receive more valuable tips, ideas, coupons, and extras!